
10 Steps to Make Your Own Manga or Comic Book
Making a real manga requires a lot of time, dedication and artistic skill but don’t let that discourage you form trying. You have to start somewhere.
This tutorial provides some step by step tips on how to plan out your manga before you start drawing as well as some drawing tips for when you do.
Step 1 – Determine the Type of Story You Will Tell
First decide on the type of manga you wish to make. Slice of life, fantasy, sci-fi , historical, etc…
This may seem obvious but is important in determining the kinds of characters and settings you will have.
Step 2 – Write Out a Quick Summary of Your Manga
Write down a basic summary of your manga that describes it’s main events. Your story does not have to be completely original but it can help to have something that stands out in some way.
If your idea is too common and generic it’s less likely that people will be interested in it.
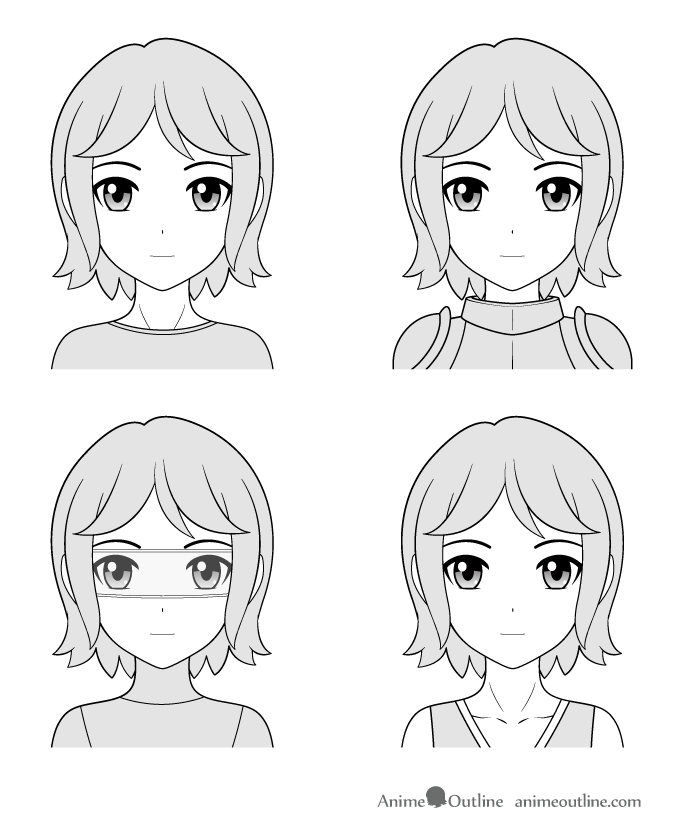
Step 3 – Create Character Profiles & Design Your Characters
Write a profile for each of the major characters and describe their appearance, personality and basic background. Similar to the story try and have characters that are not too generic and definitely don’t use ones from existing manga (unless allowed to by the the original artist).
It’s fine to be inspired by the work of others but don’t outright copy it without permission.
For advice on designing an anime or manga style character see:
4 Important Steps to Make Your Own Manga or Anime Character
Step 4 – Determine the Settings
Determine where your story will take place. For example if it’s a fantasy world what is it called? What are it’s main defining features. What are the major locations?
It’s also important to note that even non-fantasy/sci-fi stories can still take place in imaginary locations (countries and/or cities that don’t exist).
You should plan out the locations of the manga where the majority of events will take place.
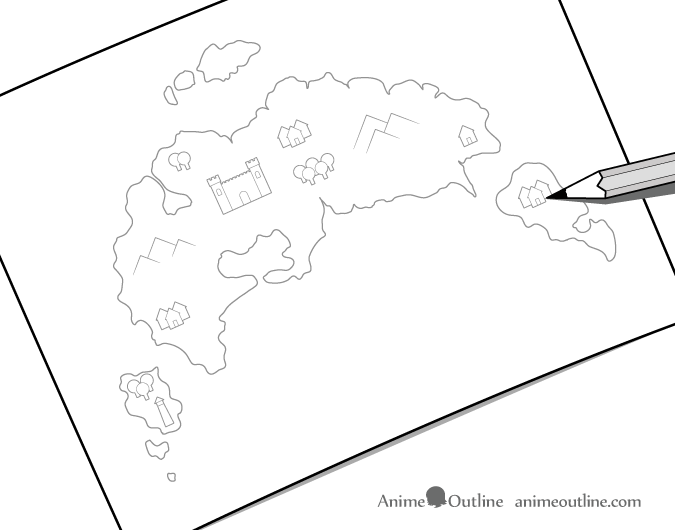
If you have a fantasy setting you can start by drawing the overall map of the world or the part of it where story takes place. You can use icons to show the different locations (you can also add notes to each icon).
In a non-fantasy manga you can skip the world map and draw the map of the main town or towns in your story (you will want town maps for a fantasy manga as well).
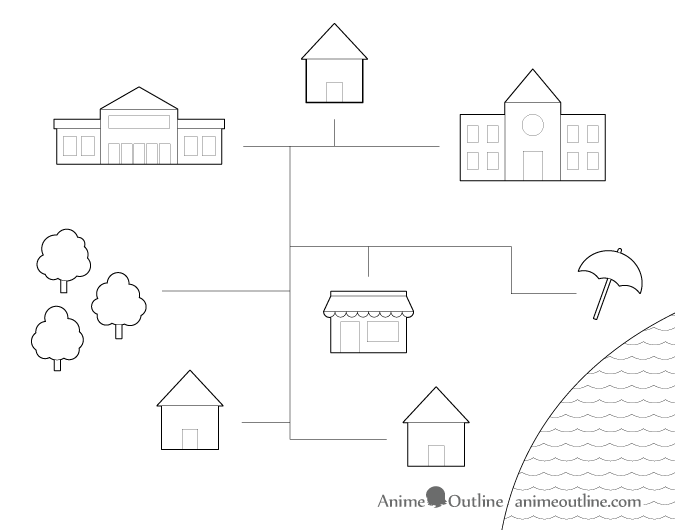
For a town map you can draw things like the location of the main characters house, their friends house, the path they take to get to work or school, the key locations around town where the story will take place, etc… Use simple icons to draw the map and only for locations that are relevant to your story.
If you want to use a real town as the setting for your manga it’s a good idea to use a real map of it and take photos of real locations.
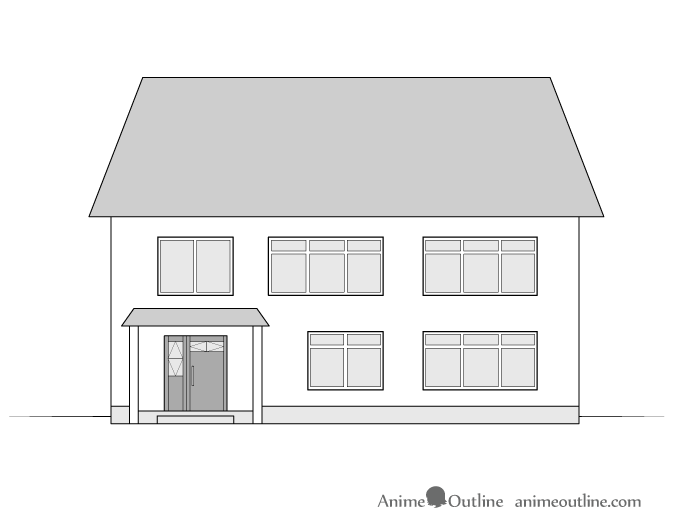
Next you can sketch out the locations themselves. For example the street view of the main characters house, the school, etc…
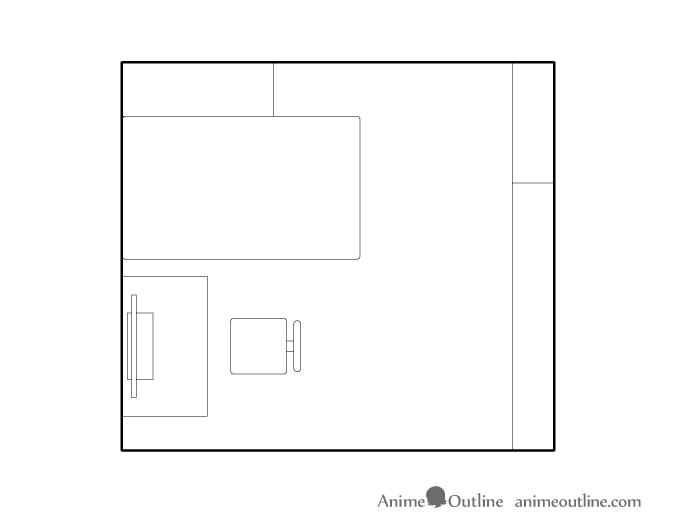
Finally you can sketch some of the more important interiors where the story will take place such as a classroom, or the main characters room. This will help you establish the location of the main objects in the room (bed, desk, etc…).
The reason for this type of planning is to avoid inconsistencies when drawing your manga and to also help you plan the story. For example you will know that the characters need to walk past the convenience store to get to the beach. So you can have them buy snacks on the way. While at the same time you can avoid mistakes like forgetting the location of the store and having them walk past it on their way to the park in another chapter.
For drawing rooms you can also see:
One Point Perspective Room Drawing Tutorial – Step by Step
Step 5 – Determine the Length of Your Manga
Plan out how much of your story will happen in each chapter.
Write point form notes of the major events in a given chapter and the characters that will participate in them.
Example of point form notes:
- Protagonist wakes up and makes breakfast
- Protagonist stops by best friend’s house & they walk to school together
- On way to school protagonist and best friend talk about…
- At start of class a new transfer student is introduced
- etc…
Of course you will want to use the actual names of your characters in the notes.
Clearly label each set of point form notes like “Chapter 1, Chapter 2, etc..”. If you are going to name your chapters include the name after the number (example: Chapter 1 – Chapter Name). You want to stay well organized.
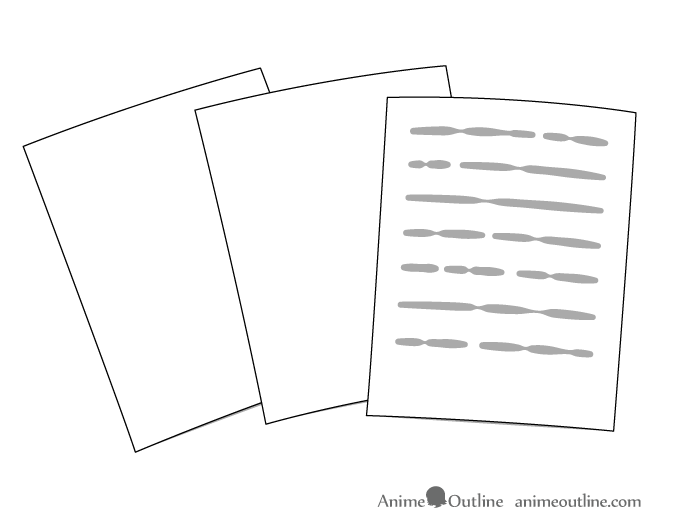
Step 6 – Plan Your Pages
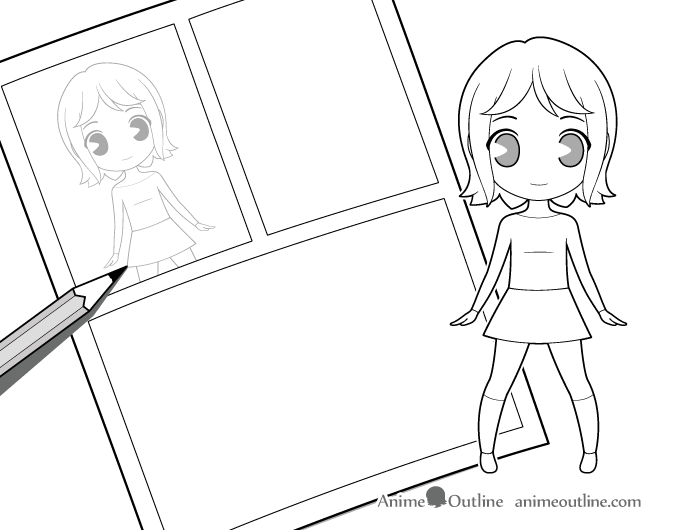
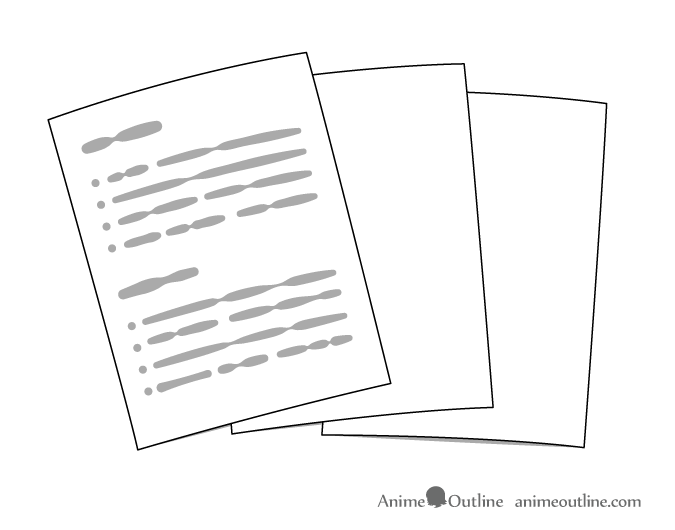
Plan out each page in a given chapter by doing rough sketches of it. A good way to do this is to use printer paper. It’s fairly cheap and you can easily discard a sheet if you make a mistake. Be sure to number your pages as you draw so you don’t get confused later.
You can speed things up by drawing “Chibi” characters for this part of your manga creation process (big head with a small body and not much detail).
For more on drawing chibi characters you can see:
- How to Draw Chibi Anime Character Step by Step
- 16 Examples of How to Draw Chibi Anime Facial Expressions
You should also include the dialogue that will take place on each page.
Your sketches can be fairly rough (a lot more so than the example), the idea is to quickly establish what will happen in every panel in a way that makes sense. Be aware that you may have to adjust the size of the panels in the actual manga as the size of the pages can be different (read the next step for explanation of printing and size). You should however still use the same number of panels and they should be laid out very close to the way you will draw them in the final manga.
Step 7 – Plan for Printing Before You Draw the Actual Manga
Before you start drawing the actual manga there are a few things you should be aware of.
If you actually plan on getting your manga professionally printed you should do some research on the standard print sizes for such material. If you are just drawing your manga for practice and will print it at home you can do whatever your home printer can handle. With that said it might still be better to try and do one in a size standardized for the industry even if it’s just for practice.
It is important to also be aware that the standard sizes for a manga in a country like Japan may be different to what is standard for a comic book in other countries. Be careful to actually get the size that is available for you to print in.
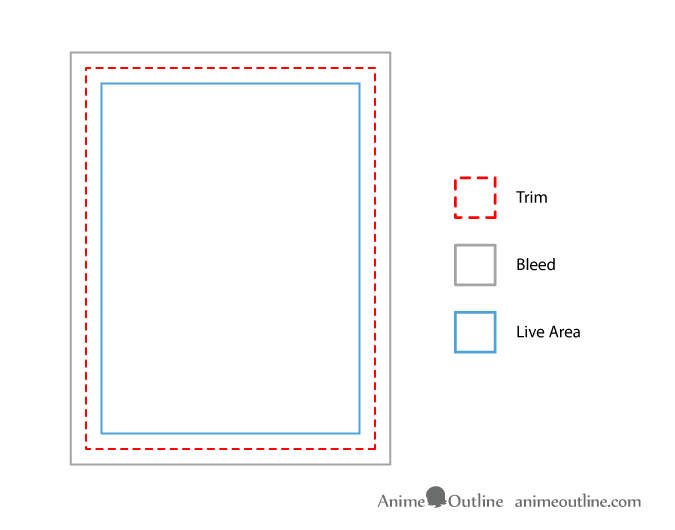
If you want your manga printed you should also be aware of the “live area”, “bleed” and “trim”.
Page Live Area
This is the part of your page where your drawing is safe from having parts of it cut-off.
Page Trim
Trim is the point at which the surrounding material will be cut off.
Page Bleed
The bleed is the area past the cut-off area. The reason for it is to insure that there will be no unwanted white borders or spots on the edges of your page. If you want a background colour or a drawing that goes all the way to the edge of a printed page you will need to draw past the cut-off area into the bleed area.
Additional Help When Printing Manga
You can do additional research on printing on your own but the above printing tips are all things to be aware of.
If you feel yo need more help in this area a good person to consult with can be a graphic designer. They often deal with print and should be easier to find than an actual manga or comic book artist.
Web Manga
You can also skip the printing process all together and simply publish your manga online. This is probably by far the cheapest and easiest way to do things. However you should still try and determine the best size to use in case you do want to print it later.
Step 8 – Learn the Different Speech Bubbles
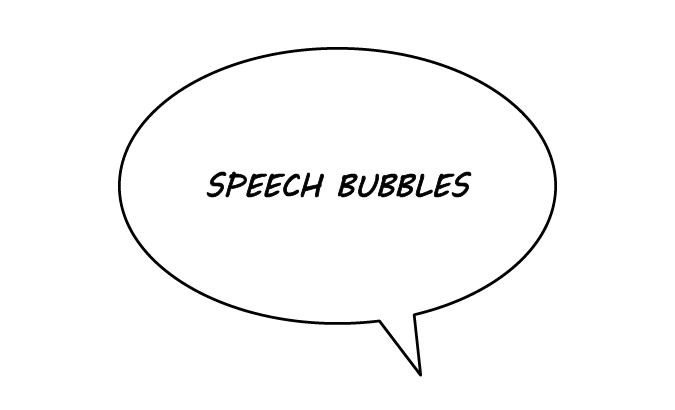
Different types of bubbles can be used to reinforce the message they contain. For example a normal speech bubble can be a simple oval with a tail that points towards the characters mouth. If a character is shouting you may want to emphasize that with bubble with jagged edges.
Different manga artists can sometimes also use slightly different styles of speech bubbles. Generally you will want to pick one set of styles and stick with it throughout your manga.
For a list of the more common styles of manga speech bubbles and well as explanations of when to use them see:
How to Draw Manga Speech Bubbles Tutorial
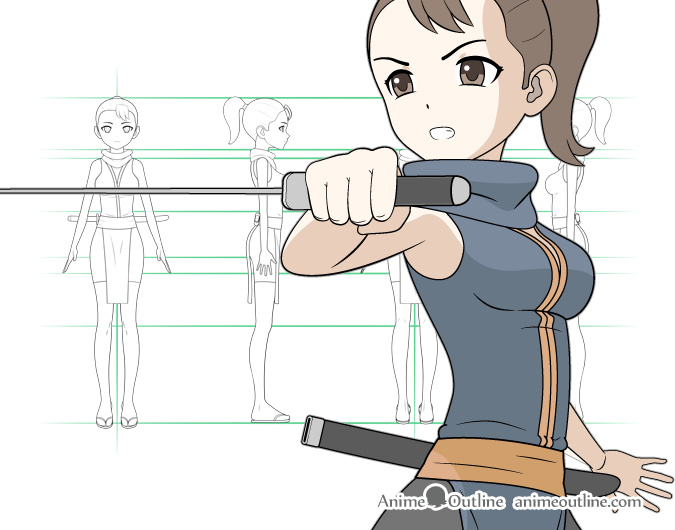
Step 9 – Drawing Your Manga

When everything is finally planned out you can start drawing your manga.
You should begin by doing a light pencil drawing and ink it in afterwards.
For inking a manga you can use a Nib Pen and ink. If you have never used one before you should probably practice drawing with it before you try and ink your manga.
You will eventually need to scan your drawings which means you can clean them up digitally. For this reason if you make a small mistake when inking it should not be a major problem.
Alternatively if you have a pen tablet and the right software you can draw your manga digitally all together. In this case you obviously would not need to scan or ink the manga in traditional sense but you should still start with a light sketch and go over it with dark lines afterwards. Pretty much everything else that was mentioned earlier would still apply.
If a drawing tablet is something you are interested in you can check:
Step 10 – Get Feedback
You can get some basic feedback by showing people your character designs and giving them some idea of the plot. You can also show them your planning sketches to see if what is happening in the panels actually makes sense to other people.
It might be hard for a friend to criticize your work but ask for honest feedback.
Criticism may also be hard to take but if you are truly serious about doing something then you should be willing to listen to the opinions of others. At the same time remember that not every bit of advice or criticism from everyone is always valid. Definitely try and talk to more than one person and get a general consensus of your work.
If you know someone who is a professional artist or writer they may be a very good person to ask for some help and advice.
Conclusion
Making a manga is time consuming but if you managed to read this far you’ve already shown some persistence as this is a fairly long post. An important thing when taking on a large project is to plan it well and not rush to get it done too quickly as you may burn yourself out. Do a certain amount of work each day or each week and stick to it.
While this tutorial is quite extensive you may want to do even more research if you are serious about making your own manga or comic book.
If you need help drawing in the anime and manga style you can always check the Tutorials section for some drawing tips.
Good luck!
")


