How to Draw Happy Anime or Manga Eyes
This tutorial shows how to draw happy anime eyes in six steps. It includes illustrated examples as well as a line by line drawing video.
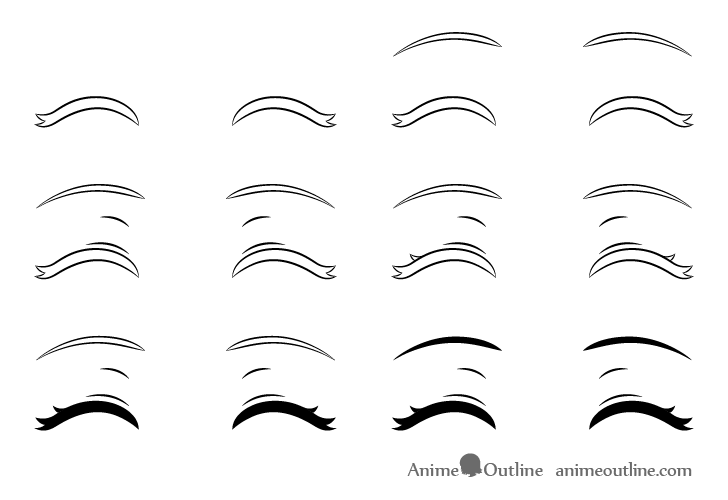
There are a few ways to draw a happy eye expression. The example shown in this tutorial (where the eyes are drawn completely closed) is a fairly common way of doing it in anime and manga. An expression where the eyes are closed is fairly easy to draw as there is no need to add a lot of the details that you would need otherwise. For this reason the tutorial is very beginner friendly.
For more on drawing closed anime eyes see:
How to Draw Closed, Closing & Squinted Anime Eyes
While the examples is quite simple it’s still recommended that you start it in pencil and make light lines that area easy to erase in case you make a mistake. You can darken them later on.
Above is a line by line video drawing guide for the happy anime/manga eye expression. You can watch it and then read below for a more detailed explanations of the drawing process. If you like these kinds of videos please leave a like and subscribe to the AnimeOutline channel. Your likes and subscriptions are very helpful and much appreciated!
Step 1 – Draw the Outline of the Eyes
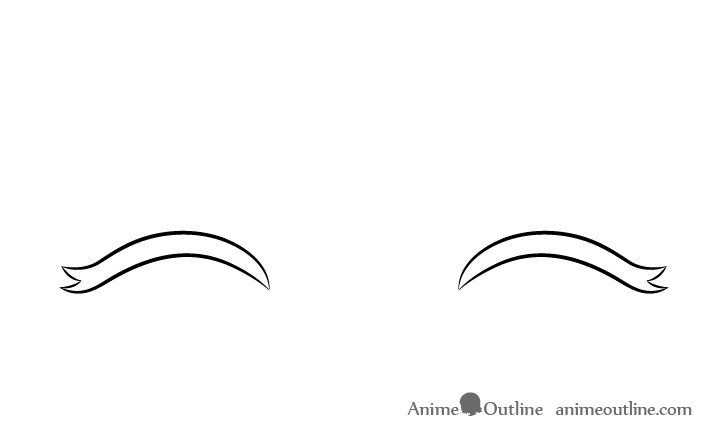
As mentioned, for a happy expression the eyes will be drawn completely closed. Begin the drawing with an outline of each eye, or in this case the eyelashes. Make their overall shapes curved and give each one a split on it’s outer end to create a hint of individual lashes.
For drawing these same eyes when they are open see:
How to Draw Anime Eyes (Normal Expression)
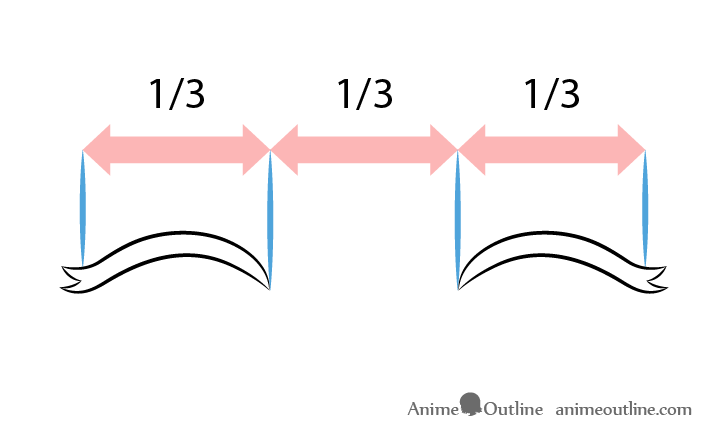
Space the eyes far enough apart that you can fit another one in between them (minus the lashes on the sides). Also be sure to position them in a way where you have plenty of room above for the eyebrows.
Step 2 – Draw the Eyebrows
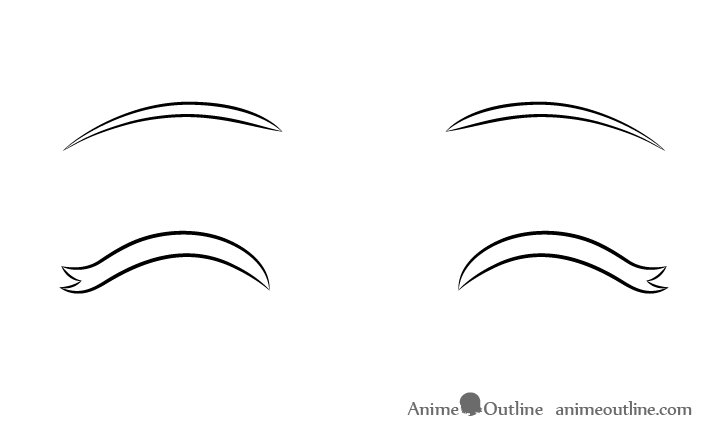
Leave a good amount of distance between the eyelashes and the eyebrows as they eyelashes will be lowered when the eyes are closed. Also draw the inner ends of the eyebrows raised compared to a normal expression.
Step 3 – Draw the Eyelids
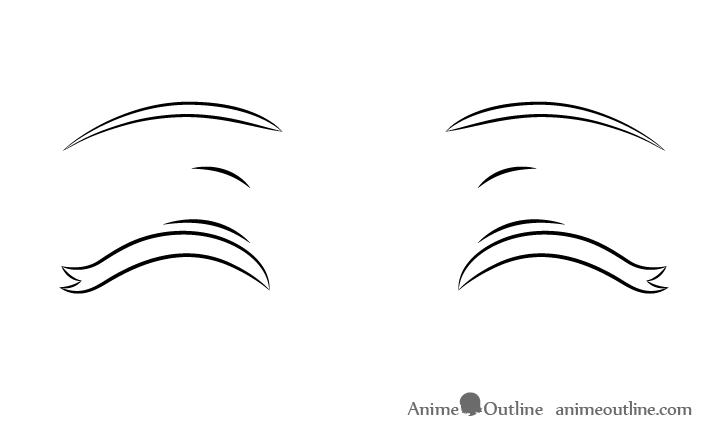
Give a hint of the upper part of the eyelids with a pair of small curved lines near the inner end of each eye. Place these well above the eyelashes. Draw the bottom parts of the eyelids as a longer curves and position them very close the to eyes.
Step 4 – Add More Eyelashes
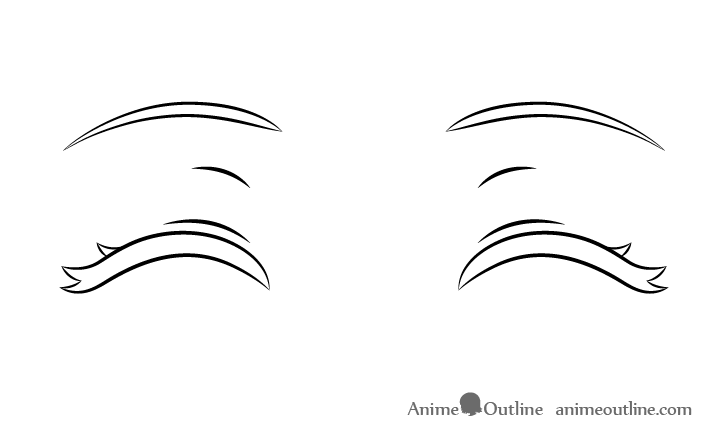
You can (optionally) add more hint’s of individual lashes to the eyes. In this example it will just be one extra per each of them but you can draw more if you wish.
Step 5 – Darken the Eyelashes
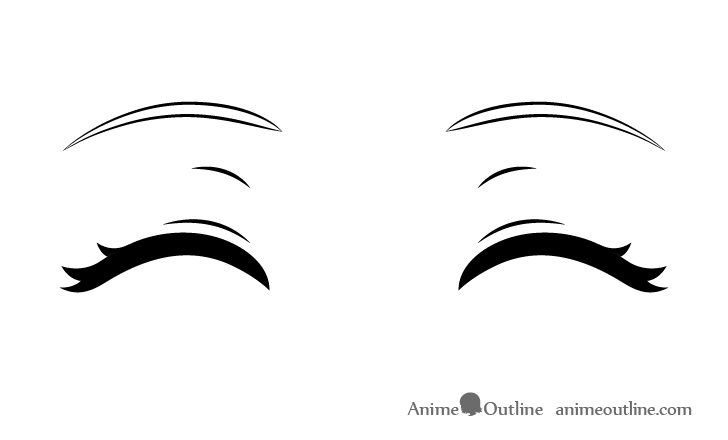
Once you have all parts of the eyes outlined you can darken your lines and fill in the eyelashes with black or pencil shading. Alternatively you can color them if you prefer.
Though real eyelashes are usually black in anime and manga they can sometimes have unusual colors. This means that you can go with pretty much anything you like.
Step 6 – Darken the Eyebrows
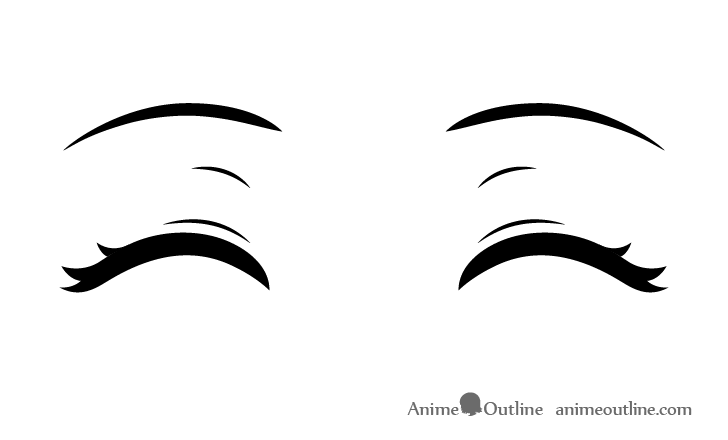
Similar to the eyelashes you can make the eyebrows black or color them. If you wish to draw an entire face keep in mind that the eyebrows are usually the same color as the hair (both for real people and anime characters).
Conclusion
Anime eyes are generally stylized to have fewer details than real eyes making them easier to draw (as long as you understand the style). Drawing a happy eye expression in the anime or manga style is particularly simple. Because the eyes are closed you can omit many of the details that you would need otherwise. Hopefully you’ve not had any trouble following along with the tutorial.
If you find these kinds of detailed step by step guides helpful you might also like the following:
- How to Draw Anime “Hime Cut” Hairstyle
- How to Draw Anime Eyes and Eye Expressions
- How to Draw an Anime Little Girl (Entire Body)
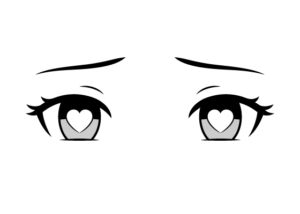
- How to Draw Anime “Love Eyes” (With Hearts)

